tutorial
How to Cull Your Photos Using Flag Keys in SnapCuller
overview
What are flag keys?
Culling is the process of reviewing a batch of photos and deciding which ones to keep, which to discard, and which to revisit later. In SnapCuller, the fastest way to do this is with flag keys: three keyboard shortcuts that let you classify every photo without touching the mouse.
This tutorial covers the complete flag key workflow from start to finish, including how each flag behaves, where the data is stored, and how to use filters to act on your selections afterward.
Flag keys assign a status to the currently viewed photo:
Marks the photo with a green flag badge. This photo is a keeper.
Marks the photo with a red cross badge. This photo should be discarded.
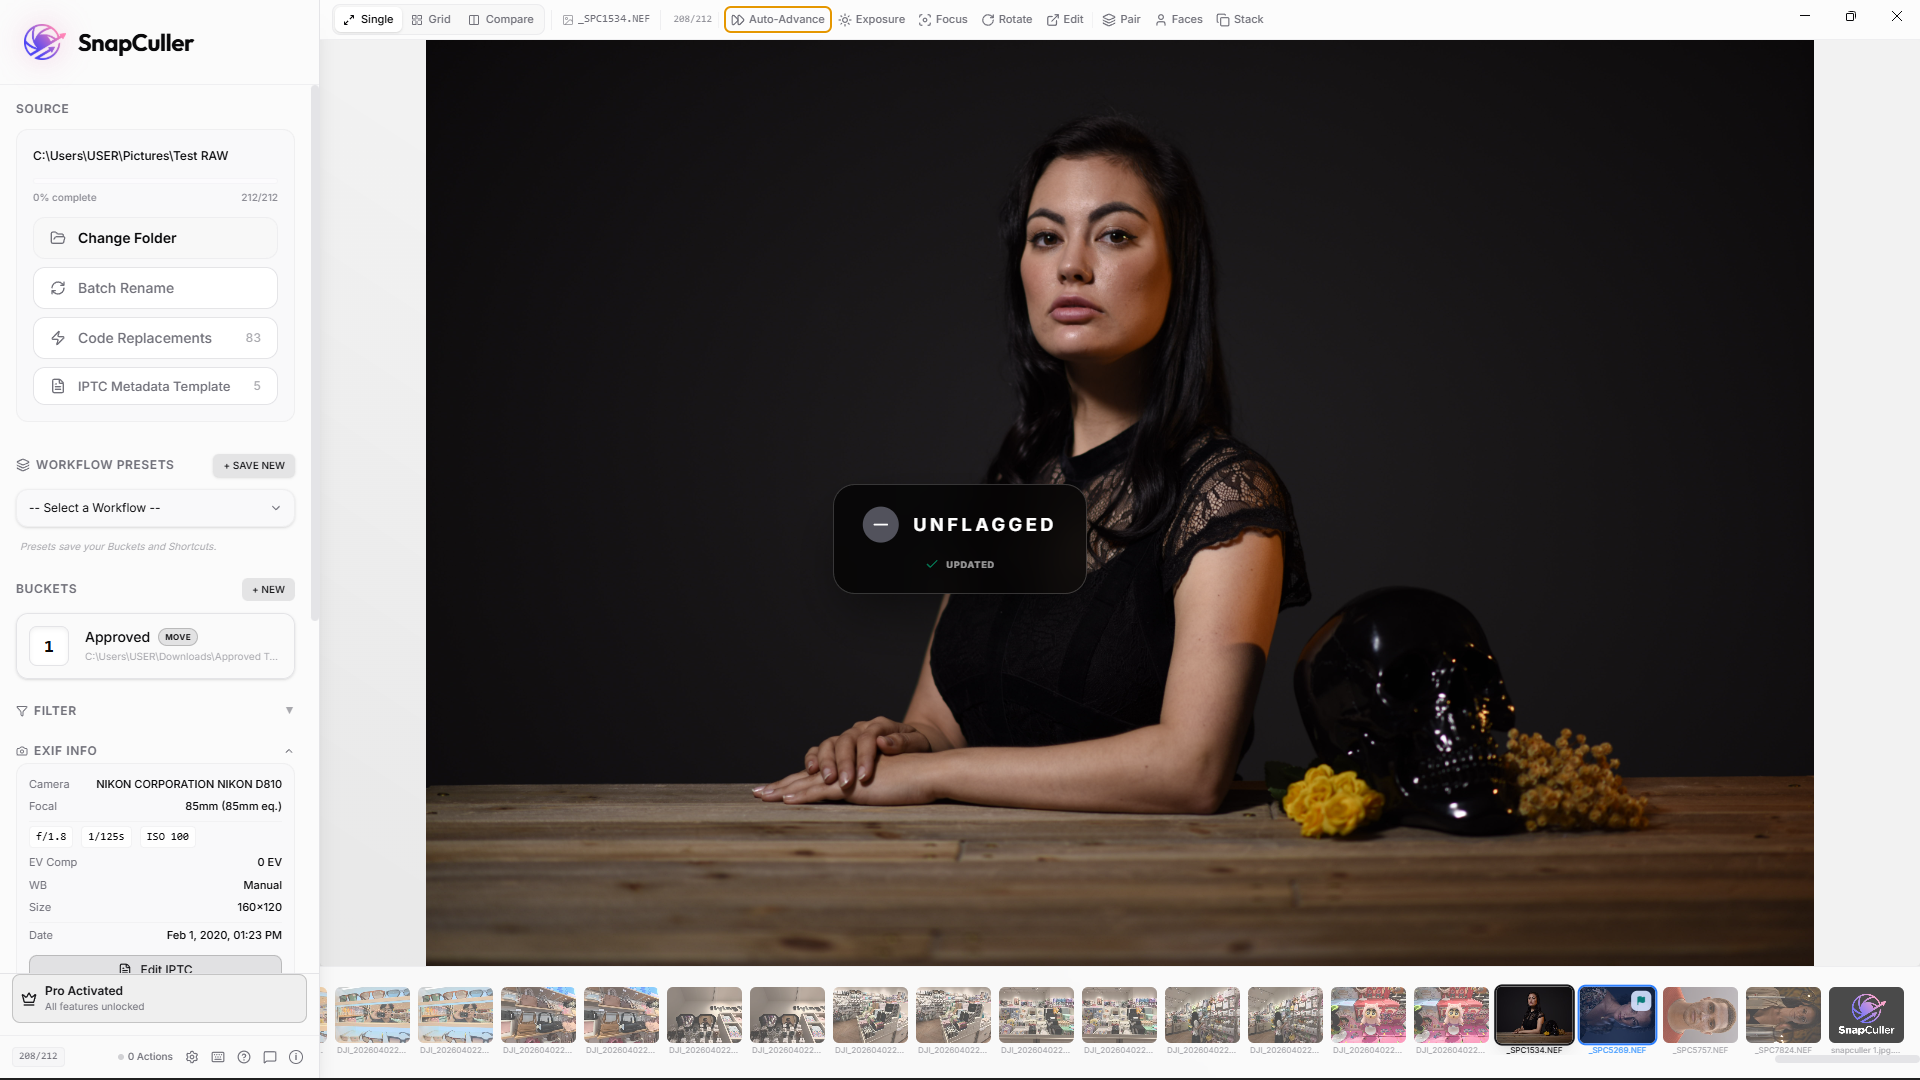
Removes any flag status. The photo returns to a neutral, undecided state.
Photos that have not been flagged remain in a neutral state. You can think of unflagged photos as undecided items that can be revisited in a later pass.
context
Flags vs. star ratings
Star ratings (1 through 5) are useful for fine grained categorization, but they require you to evaluate each photo on a spectrum. Flag keys simplify the decision to a binary choice: keep or discard. This reduces the number of decisions per photo and makes it practical to work through large batches quickly.
Flags and star ratings are not mutually exclusive. Many photographers use flags for the initial pass and then apply star ratings to the picked photos in a second round.
the workflow
Step by step: culling with flags
1. Open your folder
Launch SnapCuller and open the folder containing your photos. SnapCuller reads embedded previews from RAW files directly, so there is no import step or catalog to create.
2. Enter Single View
Press Enter on the first thumbnail to switch to Single View. This displays one photo at a time, which is the most effective layout for evaluating individual images.
3. First pass: reject technical failures
Navigate through your photos using the arrow keys. On this pass, focus only on technical quality. If a photo is out of focus, has closed eyes, or is a test shot, press X to reject it. A red badge will appear on the thumbnail.
Do not evaluate composition or emotion on this pass. The goal is to remove photos that are technically unusable so they no longer appear in your working set.
💡 Workflow Tip: Enable Auto-Advance in the top header bar or visual settings. SnapCuller will automatically move to the next image 150ms after you press X, P, or U, saving you thousands of extra keystrokes.
🔥 Pro Tip (RAW+JPG): If you shoot in RAW+JPG format, enable the Pair option in Settings. This pairs the RAW and JPG files together, allowing you to flag only the RAW file (or both simultaneously) while keeping your workspace clean and free of duplicates.
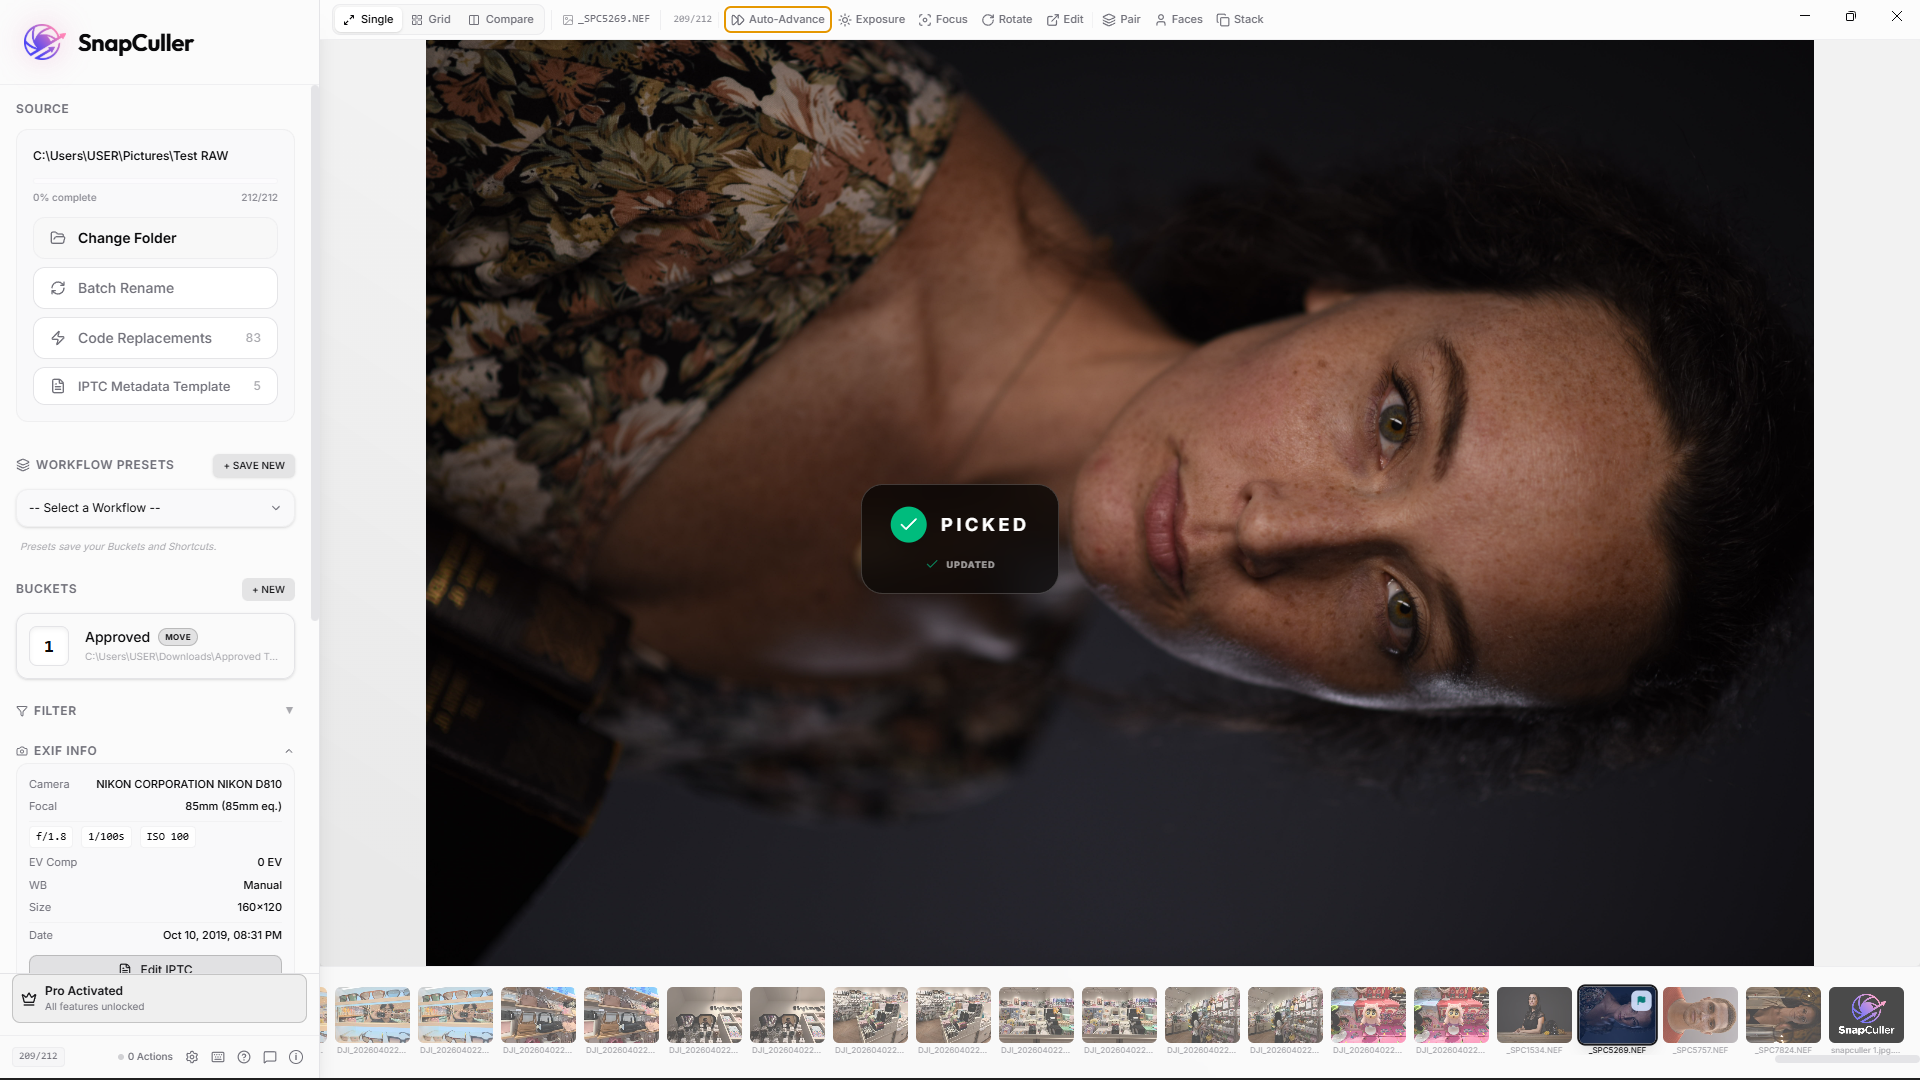
4. Second pass: pick the keepers
Return to the first photo and make a second pass. This time, when you see a photo with a strong moment or composition that you want to deliver, press P. A green Picked badge will appear.
Photos you skip will remain unflagged. These serve as backup alternatives that you can revisit if needed.
5. Fix mistakes with Unflag
If you accidentally pick or reject a photo, press U to remove the flag. The badge disappears and the photo returns to a neutral state. You can also press Ctrl+Z (Windows) or Cmd+Z (Mac) to undo the last action.
tips
Useful techniques
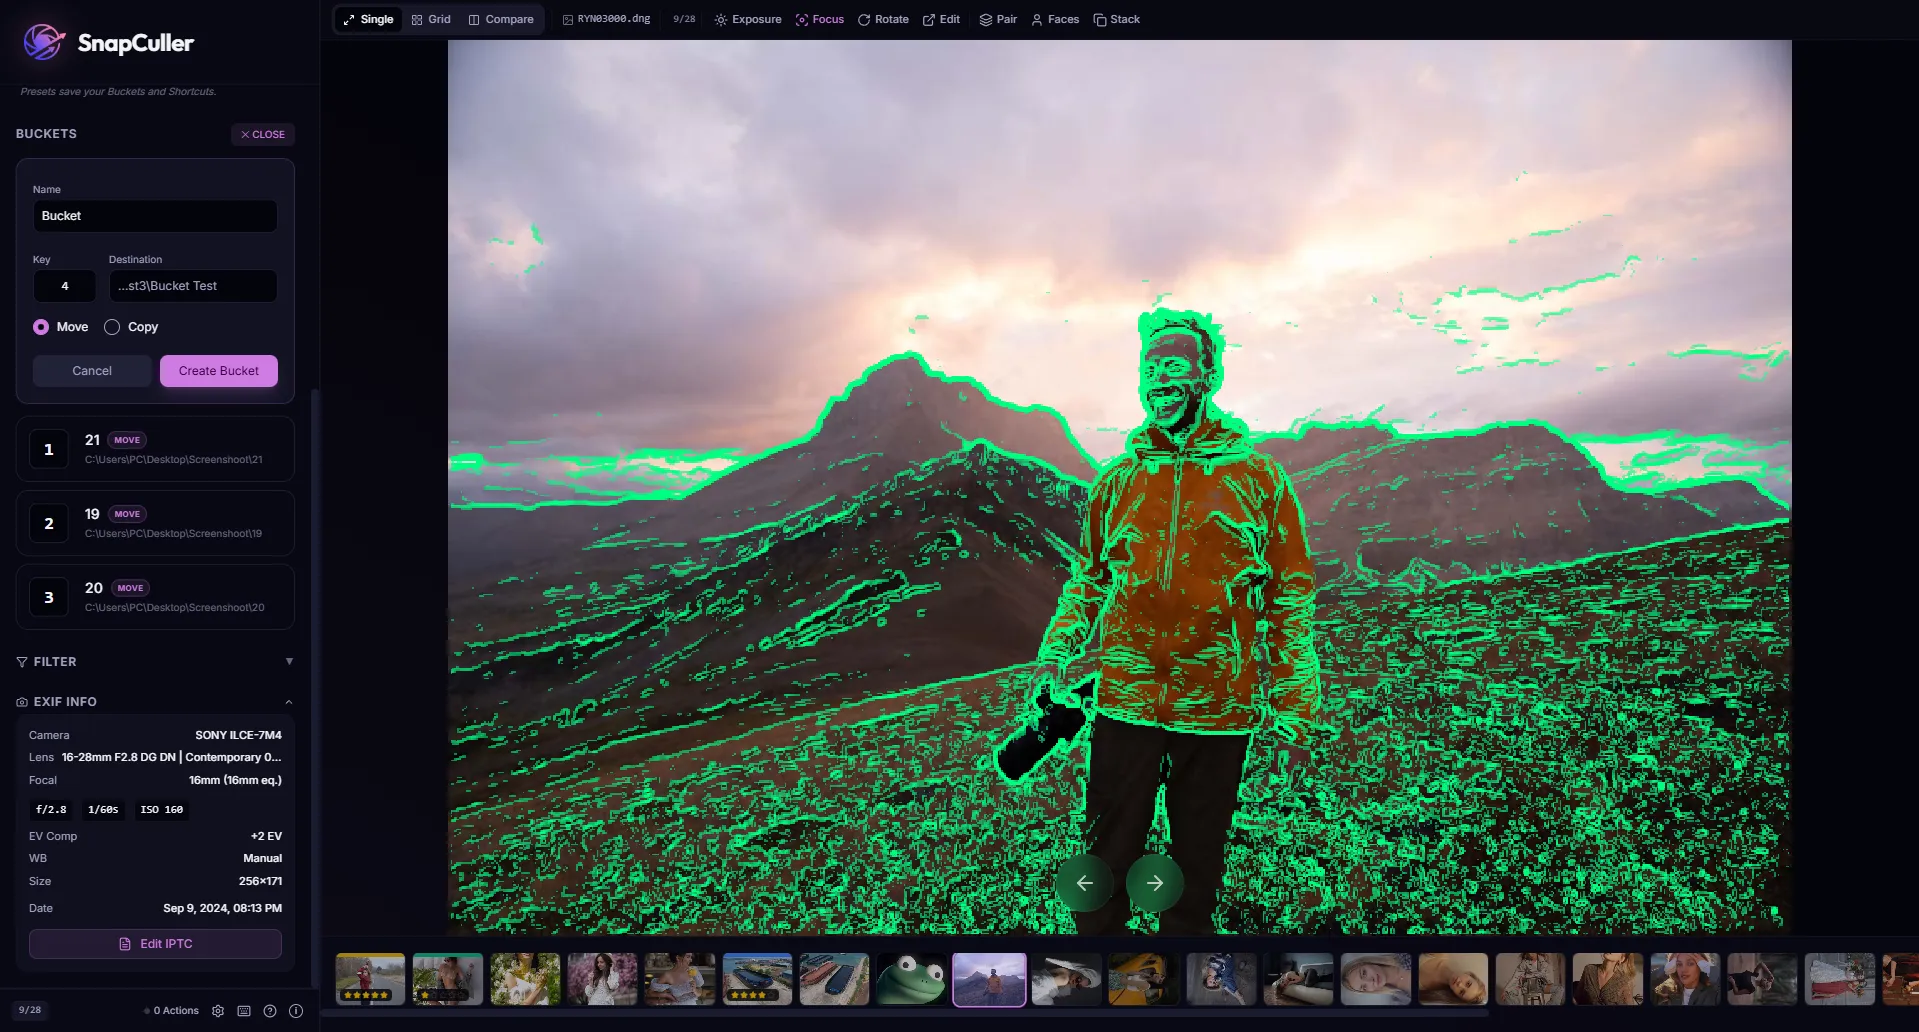
Check sharpness with Focus Peaking
Instead of zooming to 100% on every photo to verify focus, enable Focus Peaking. This overlays a color highlight on the sharpest edges in the frame. If the subject's eyes are not highlighted, the focus may have missed.
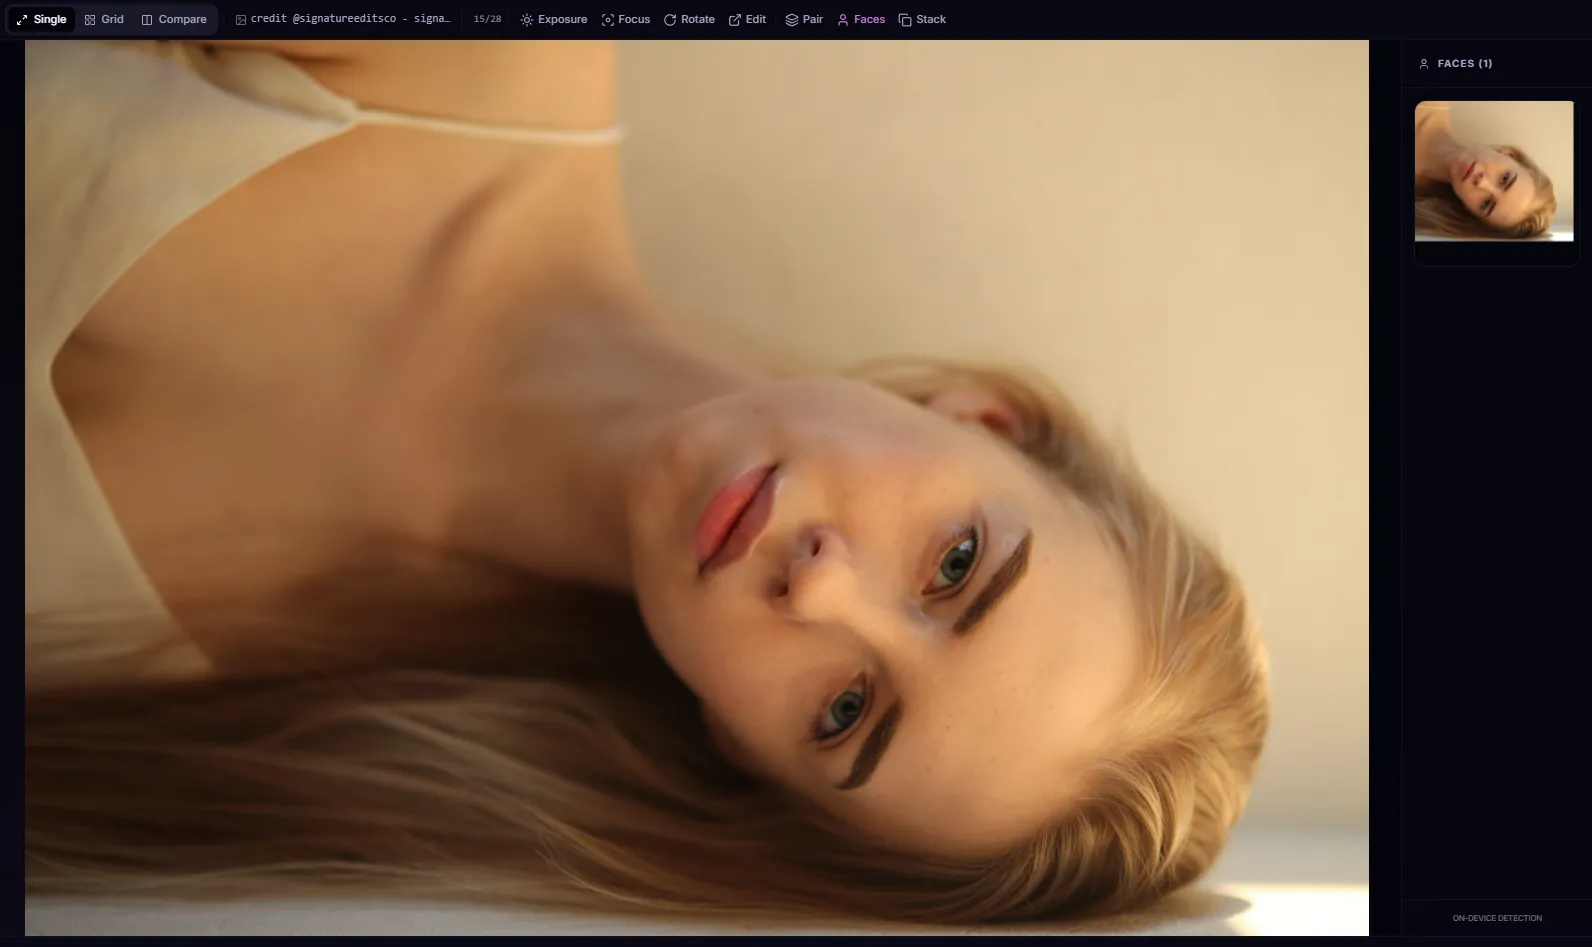
Check faces with AI Face Detection
Enable the AI Face panel to see cropped previews of every detected face in the current photo. This is useful for group shots where you need to verify that all subjects have their eyes open and are in focus.
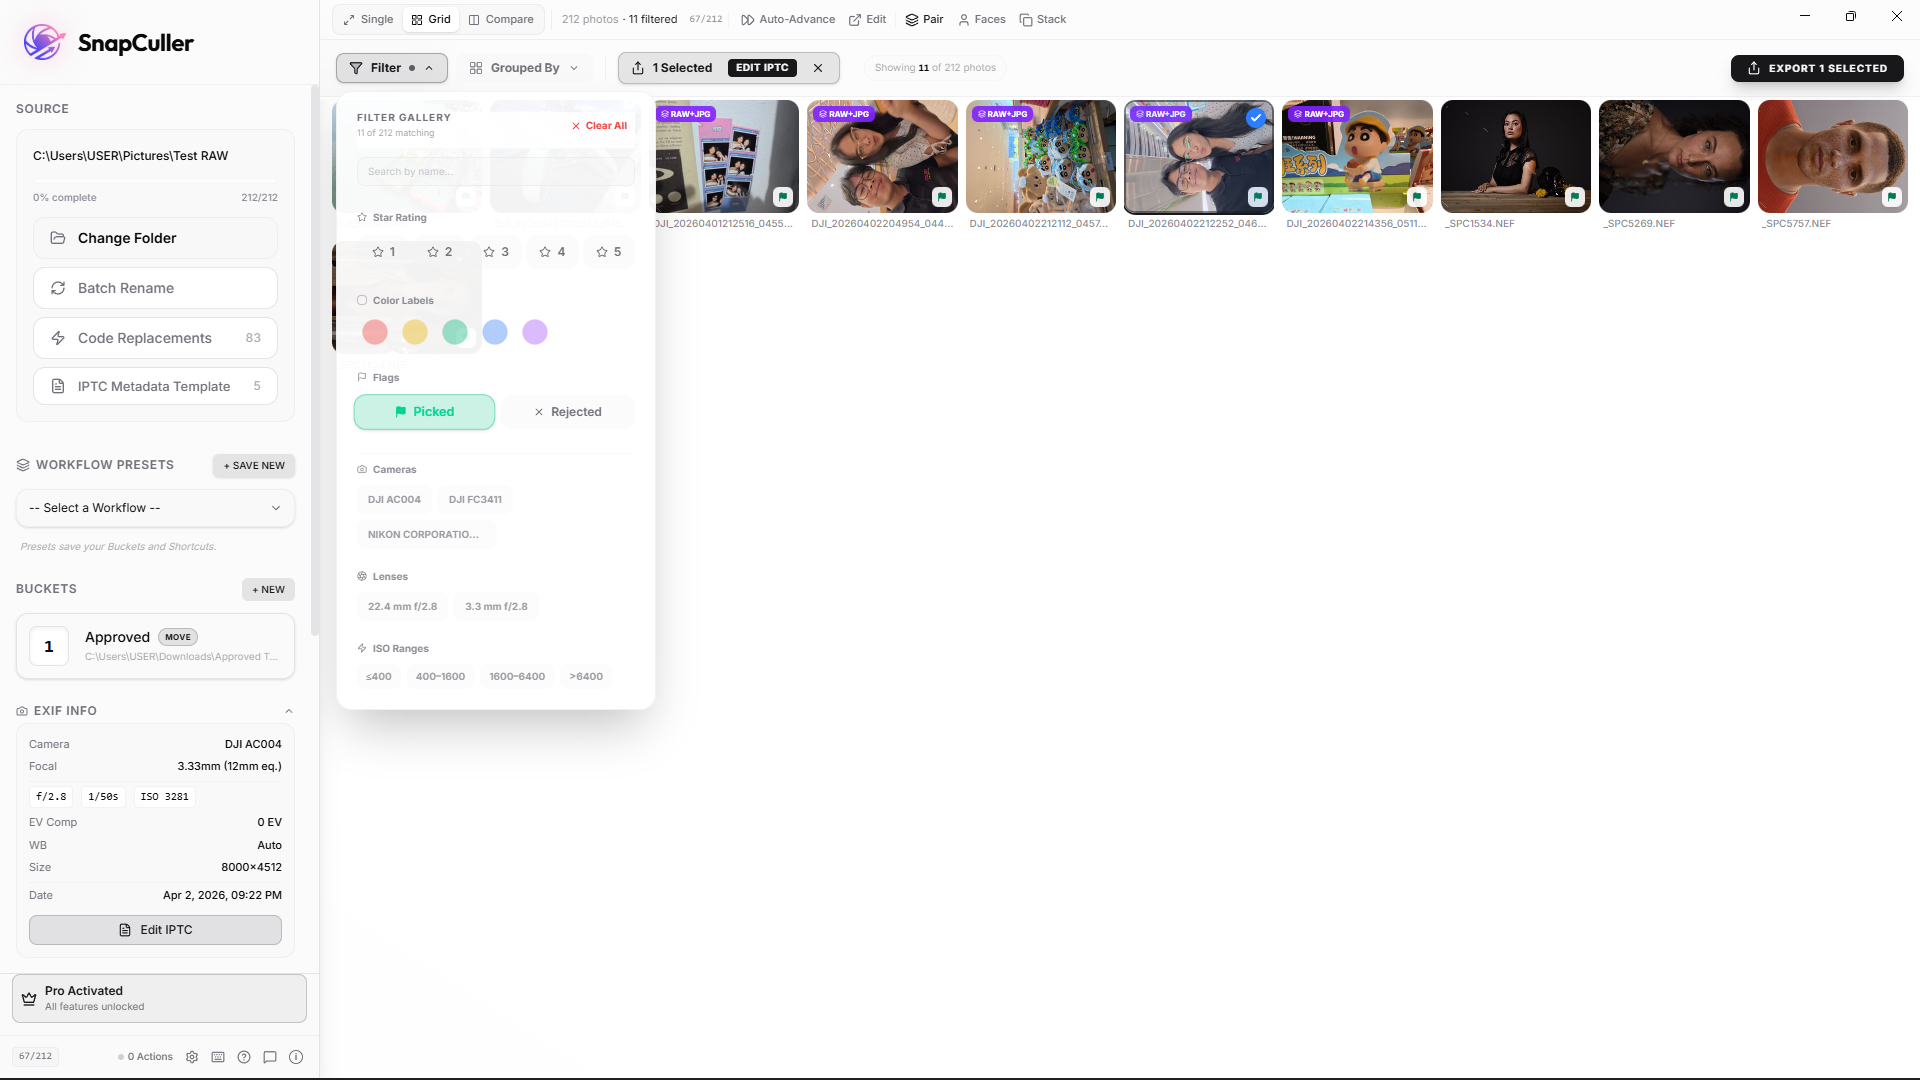
Filter and export your keepers
After completing your culling passes, switch to Grid View by pressing G. Open the filter panel and select Picked under the Flags section. This hides all rejected and unflagged photos, leaving only your selected images visible.
Select all filtered photos (Ctrl+A or Cmd+A) and press the export button (or use shortcut Ctrl+Shift+E / Cmd+Shift+E) to copy or move them to your desired destination folder.
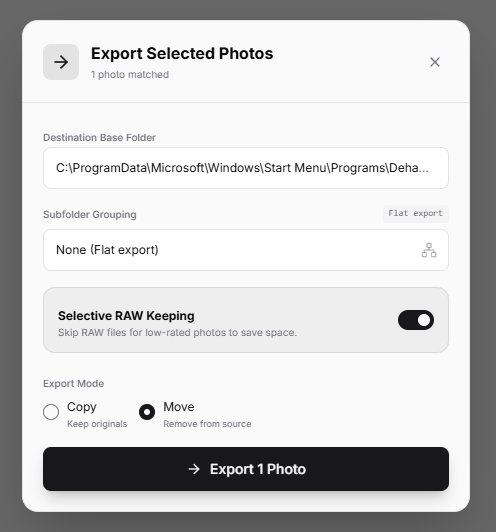
Selective RAW+JPG export options
If you shot in RAW+JPG mode, SnapCuller automatically pairs the files to keep your culling screen clean. When exporting, you can specify exactly which formats to copy or move to the destination folder:
- Both: Export both the RAW and JPG files together, along with their matching XMP metadata.
- RAW only: Export only the RAW file. Perfect if you intend to do all your color grading on RAWs in Lightroom or Capture One.
- JPG only: Export only the JPG file. Ideal if you need to quickly deliver high-quality camera-rendered images to a client.
data
Where are flags stored?
SnapCuller writes flag data to .xmp sidecar files in the same folder as your photos. This is an industry standard format that is recognized by Adobe Lightroom, Capture One, and other photo management software. When you open the same folder in another application, your Pick and Reject flags will already be applied.
Compatibility: Lightroom, Capture One, and Photo Mechanic all read the same XMP sidecar format. Ratings, flags, and color labels appear automatically when you open the folder.
summary
Recap
The flag key workflow consists of two passes through your photo set. In the first pass, reject technical failures with X. In the second pass, pick the photos you want to deliver with P. Use U to correct mistakes. Once you are comfortable with this workflow, it becomes a reliable and repeatable process for handling large batches of photos.