tutorial
How to Cull Photos at Lightning Speed Using Buckets in SnapCuller
the ultimate shortcut
What are Buckets and why do you need them?
If you shoot weddings, sports, portraits, or large events, you know the post-shoot pain: returning home with 1,000+ RAW files and spending 2+ tedious hours manually moving, dragging, and dropping files into different subfolders for picks, rejects, and edits.
Metadata tools like flags (Pick/Reject) and Star Ratings are great for tagging, but at the end of the day, you still need your physical files organized on your hard drive.
Buckets solve this instantly. A Bucket maps a target folder on your SSD directly to a single key on your keyboard (like 1, 2, or 3). The moment you press the key, SnapCuller physically moves or copies the photo—along with its RAW companion and XMP sidecar—directly to that folder.
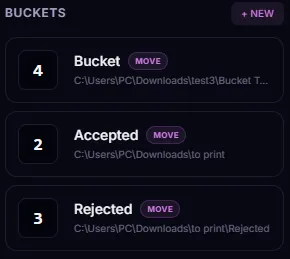
Press 1 to instantly move keepers into /Selects.
Press 2 to send technical duds directly into /Trash.
Press 3 to copy photos for a second pass into /Review.
⚡ Why Buckets Outperform Conventional Workflows
Traditional workflow: Browse → Flag → Filter → Open File Explorer → Drag & Drop → Wait for copy.
Bucket workflow: Press key → Done. File is physically in its destination folder while you auto-advance to the next frame.
setup guide
Configuring your Buckets step-by-step
Setting up Buckets takes less than 60 seconds. In the left sidebar under Move Buckets, click + NEW BUCKET to open the configuration modal. Each bucket has 5 configurable parameters:
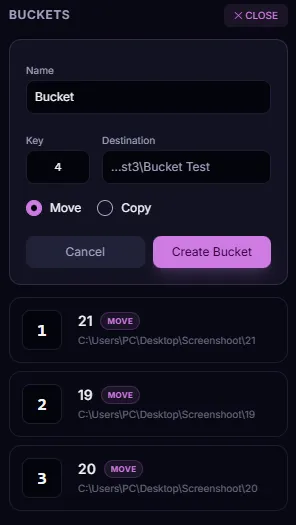
1Hotkey (Keyboard Trigger)
Assign any single key to trigger the action. By default, number keys 1 through 9 are mapped. You can also assign letter keys like A, S, or D.
2Bucket Name
A human-readable label shown in your sidebar (e.g. Selects, Rejects, Hero Shots, Social Media).
3Destination Folder Path
Click Browse to select the target directory on your internal or external SSD. SnapCuller creates subfolders automatically if they don't exist yet.
4Format Preference (Both / JPG / RAW)
When working with RAW+JPG paired photos, choose how file pairs are handled:
- Both (Default): Moves or copies both the RAW file and JPG preview seamlessly.
- JPG Only: Leaves heavy RAWs behind and routes only lightweight JPEGs (ideal for fast preview folders).
- RAW Only: Routes sensor data directly for high-end editing pipelines.
5Operation Mode: Move vs. Copy
Move: Transfers the file out of your source folder (cleans up your active library as you cull).
Copy: Duplicates the file into the bucket while preserving the original file in place.
practical usage
How to speed-cull with Buckets
Once your buckets are configured, culling becomes an effortless rhythm:
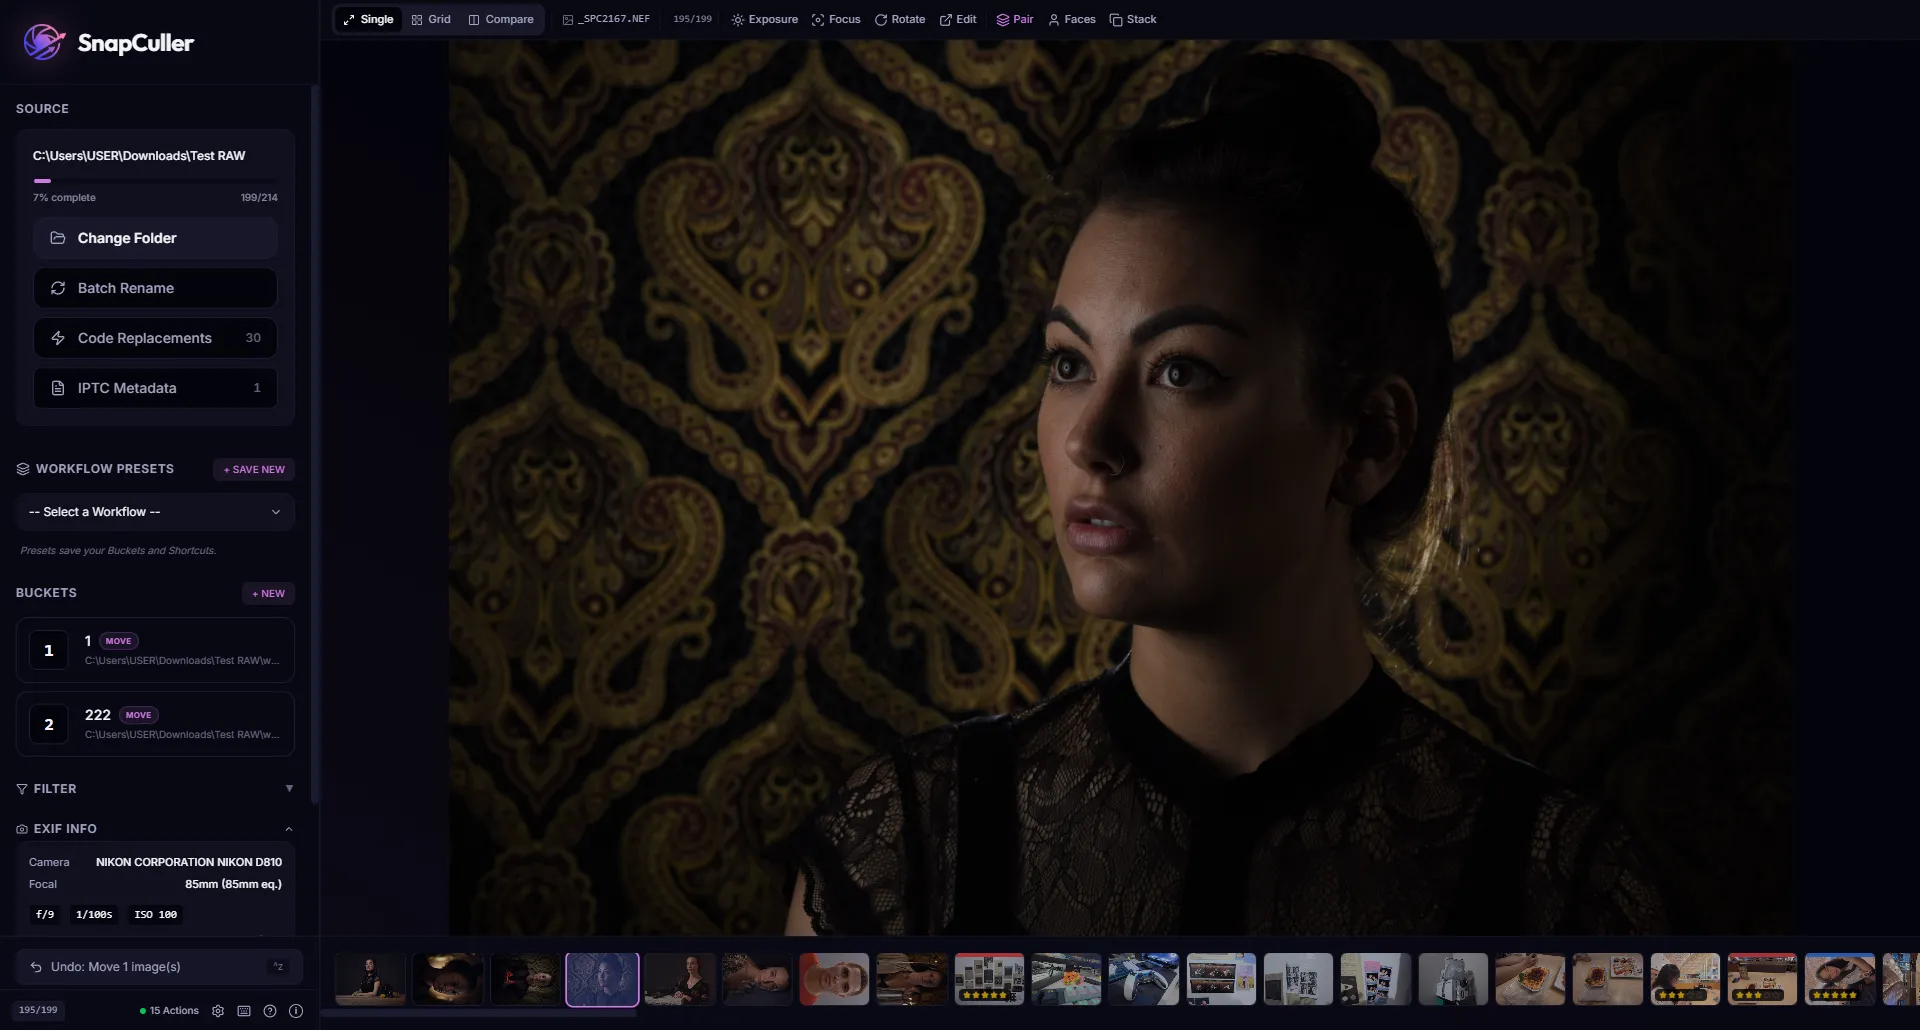
- Open your shoot folder in SnapCuller and hit Enter to start in Single View.
- Review the active photo (use E for Exposure Warnings or Shift + P for Focus Peaking).
- Press 1 to route the photo to
/Selects, 2 for/Trash, or 3 for/Review. - SnapCuller automatically routes the file and advances 150ms later to the next photo.
🛡️ Physical Rollback (Undo System)
Made a mistake? Press Cmd + Z (Mac) or Ctrl + Z (Windows). SnapCuller instantly performs a physical file rollback, returning the RAW, JPG, and XMP files to the exact source folder and restoring your index position.
pro workflows
Combining Buckets with Stars, Labels & AI
Buckets achieve maximum productivity when integrated with SnapCuller's other power features:
⭐ Selective RAW Keeping
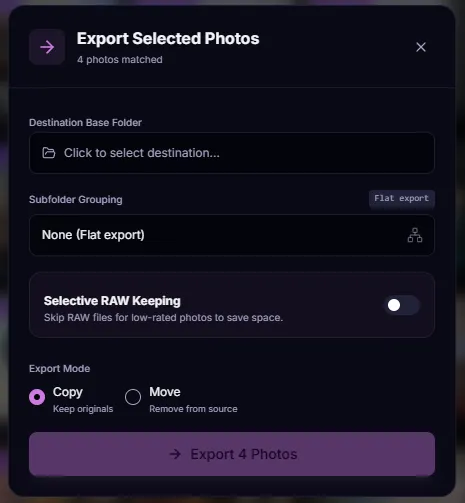
Enable Selective RAW Keeping in Settings. Set a threshold like 4 Stars. When routing to a bucket, SnapCuller will move RAW+JPG for 4+ star photos, but only JPG for lower rated frames—saving gigabytes of SSD space.
🏷️ Status Labels + Bucket Handoff
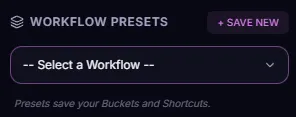
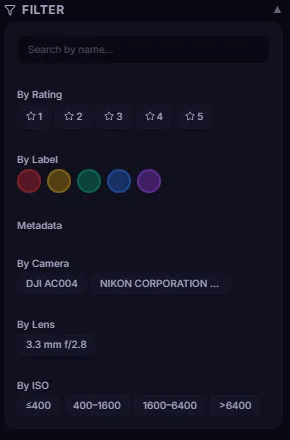
Use Color Labels (Alt + 6–9) to mark status (Green = Done, Red = Retouch). Filter by Green label in Grid View, then batch-move everything into your /Final Delivery bucket in one click.
🤖 AI Batch Culling + Buckets
Run AI Smart Culling (GPT-4o / Gemini / Ollama). The AI evaluates your shoot and assigns scores. Review AI picks, then use Buckets to physically organize the winners in record time.
🎮 Gamepad Couch Culling
Connect an Xbox or PlayStation controller. Map Bucket 1 and 2 to Left & Right Triggers. Sit back on your couch and cull thousands of photos without touching a keyboard or mouse!
Ready to transform your post-shoot workflow?
Stop wasting hours on manual file sorting. Download SnapCuller today and experience lightning-fast physical bucket routing.